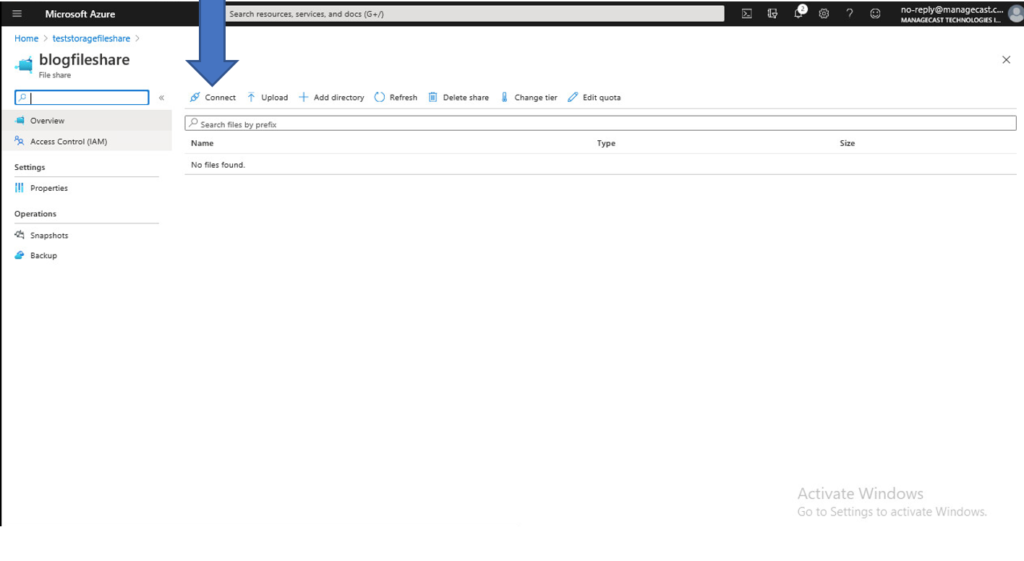
In the Azure portal, you will select the storage account that your file share is currently being stored in. Select the File share that you want to backup with Veeam. Click Connect up in the left corner of the screen.
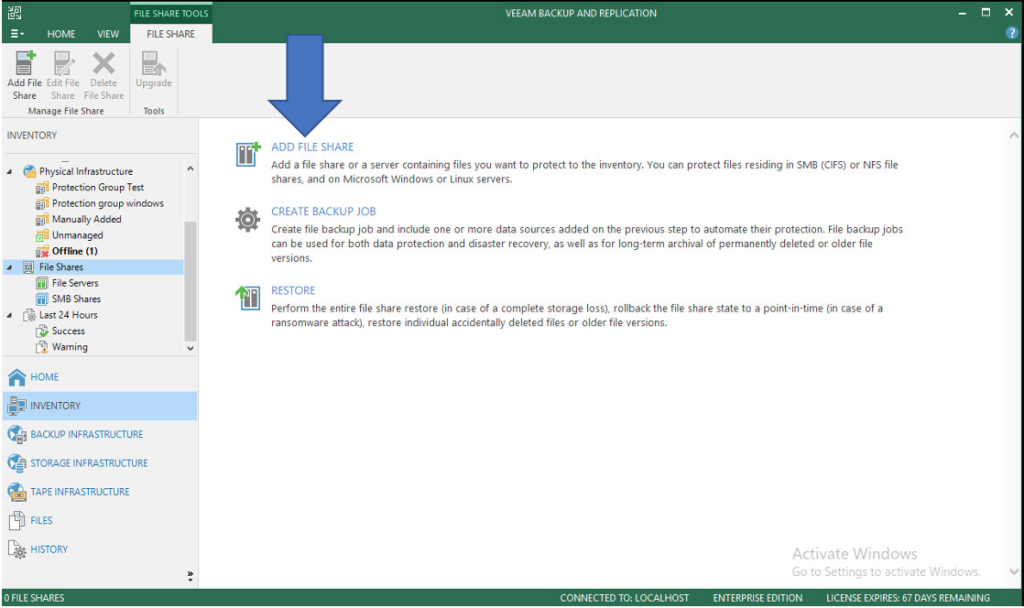
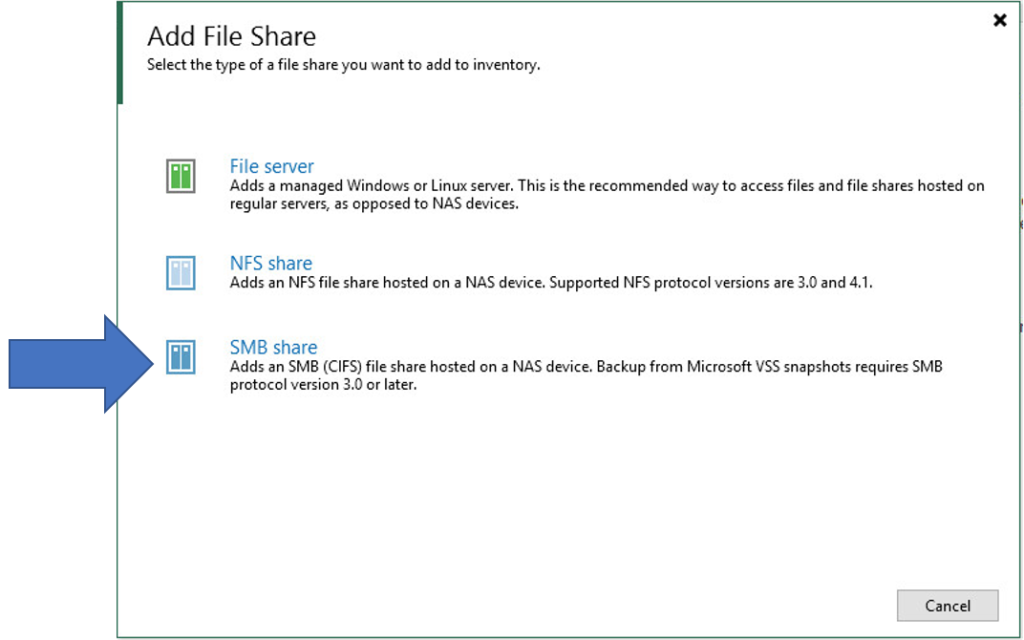
Next, you will want to open up Veeam Backup and Replication. Go to Inventory, then under Inventory select File Shares. Select Add File Share.
You will want to select SMB Share.
When it asks you what shared folder to use, you will have to use the path of \\URL\fileshare

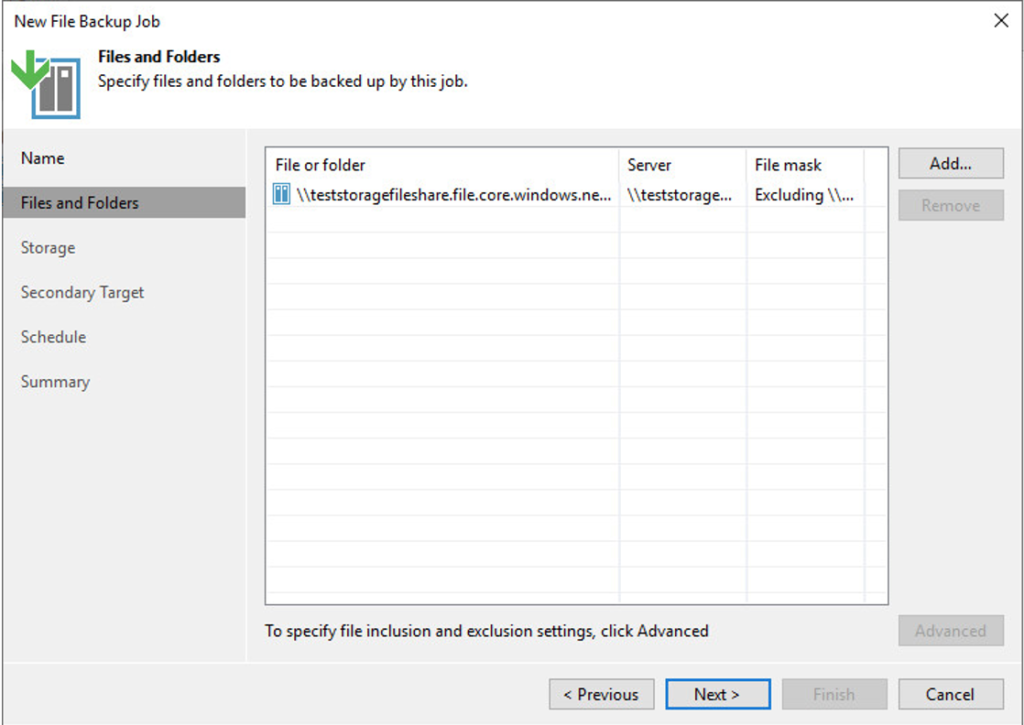
In our case, it would be \\teststoragefileshare.file.core.windows.net\blogfileshare.
You will then want to check the box next to “This share requires access credentials:”
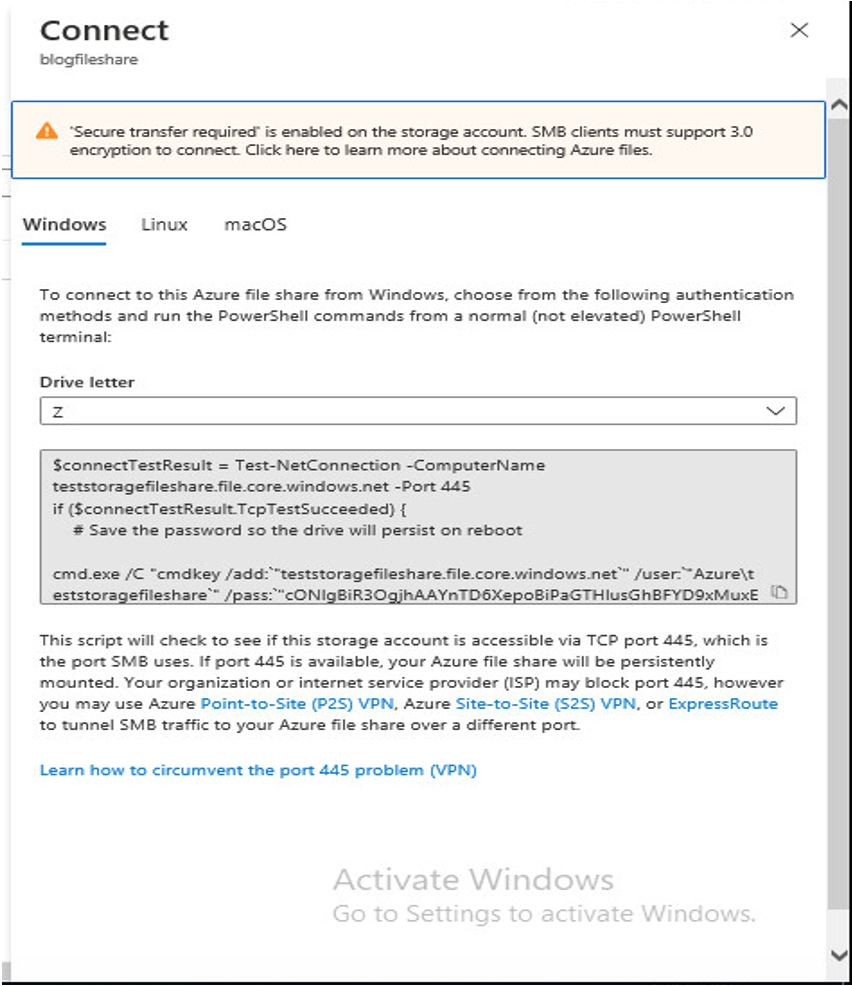
Click Add next to the credentials. Go to the text file that you saved with the connection configuration. In that file you will want to look for the /user: after that will be the username you will use. Then look for the /pass: and after that will be the password. Click Next and it will take you to the processing page. Adjust as you need to then click Apply. Click Finish and your SMB Share will be saved to Veeam.
You will Then want to back up the SMB share. Right-click the file share and select Add to backup job, then New Job.
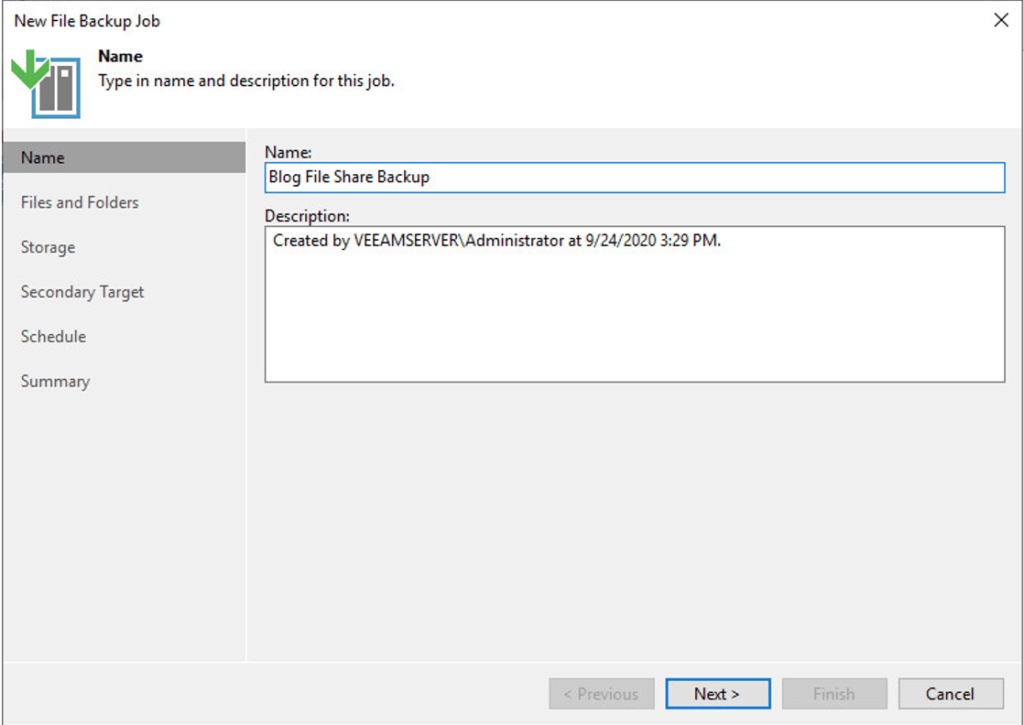
Specify a name for the Job, then click next. The Fileshare should already be in there, click next again.
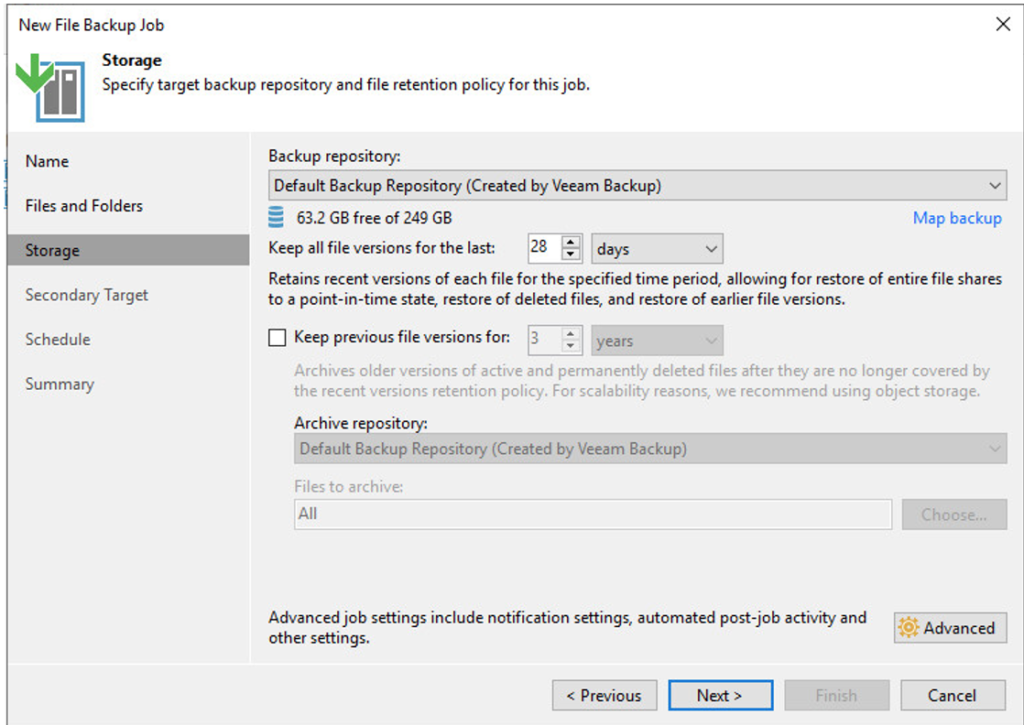
Pick the backup repository that you would want the Fileshare backed up to. There are also other settings you can specify here as well.
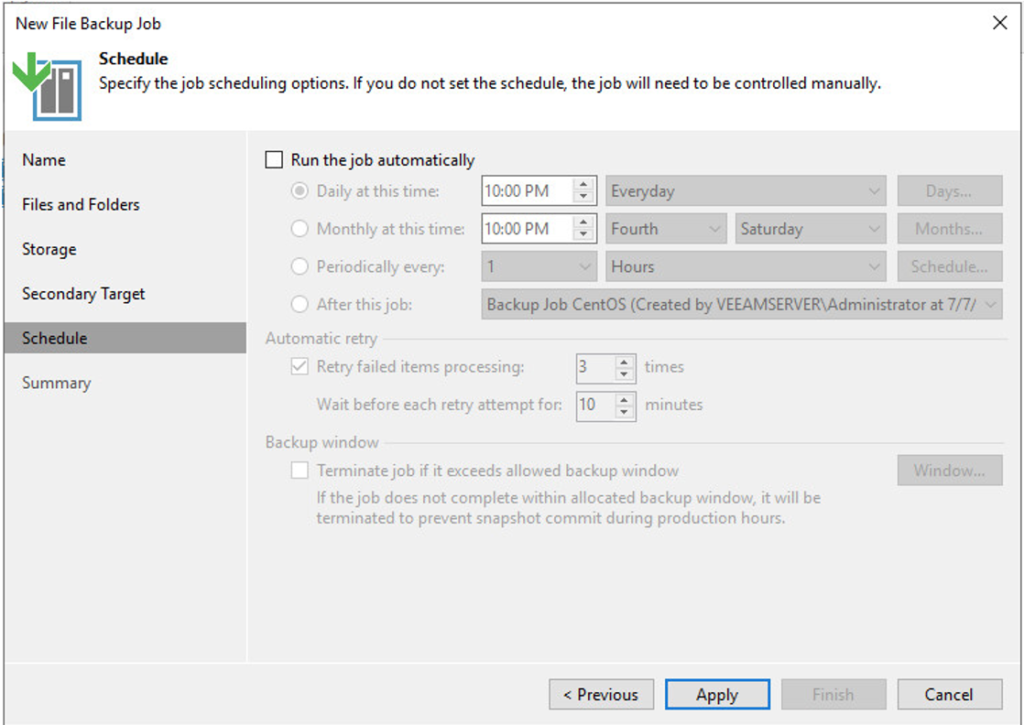
Click next on secondary target and then you will be in schedule. Schedule the backup for whatever time works best for you and click Apply.
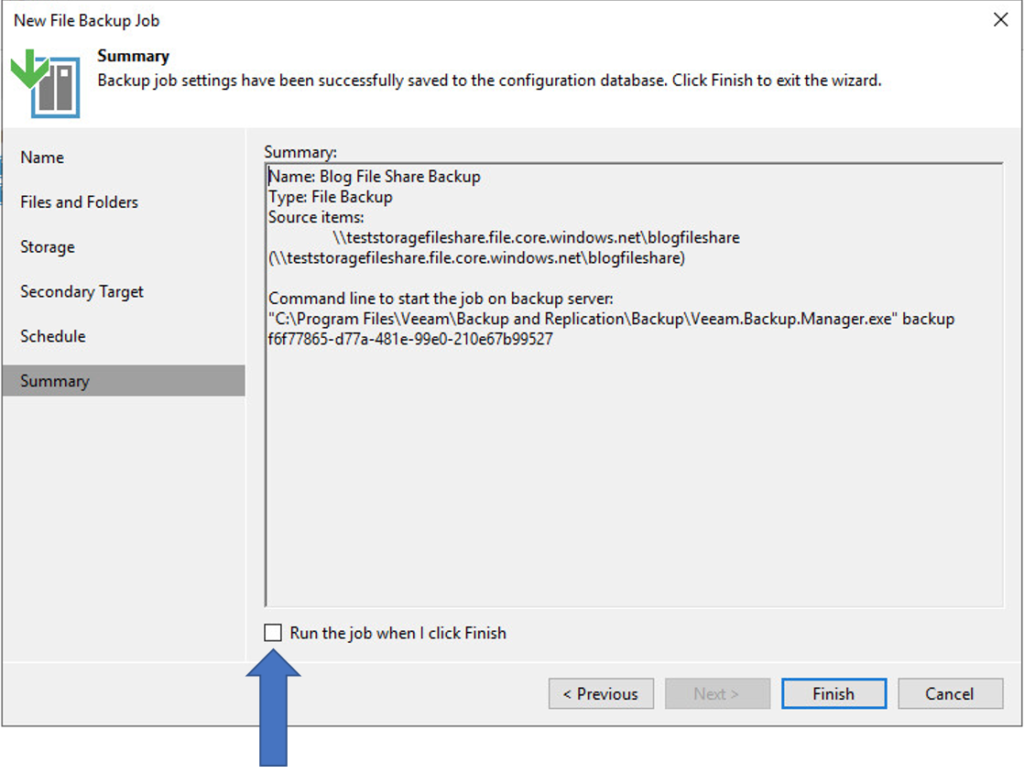
Finally, check the box for “Run the job when I click Finish” then click finish.
